Step 5: Add Context Geometry
Context geometry refers to static, unchanging 3D elements in your design, such as:
- Site context (terrain, streets, buildings)
- Reference buildings or structures
- Background environment elements
- Fixed infrastructure
Unlike parametric geometry that changes with user inputs, context geometry remains constant across all design variations and versions.
How to Add Context Geometry
Here is a very simple context geometry that we are going to add to our simple example.
📥 Download Simple Context .3dm
Step 1: Export Context from Rhino 8
- Open your Rhino model with the context geometry
- Select all objects you want to use as context
- Go to File > Export Selected
- Choose GLB (Binary glTF) as the file format
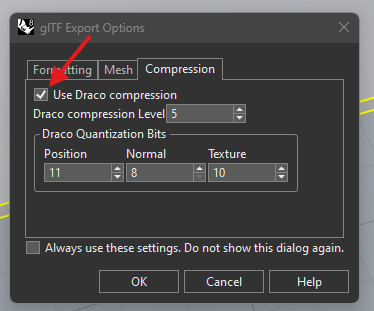
- Configure export settings:
- Ensure proper material and color settings
- Adjust mesh quality as needed
- Keep file size manageable (under 50 MB recommended)
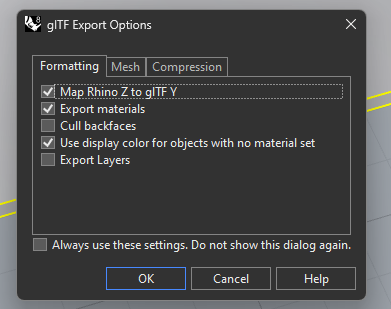
- Save the GLB file
GLB export is available in Rhino 8. If you're using an earlier version, consider exporting to OBJ and converting to GLB using online tools.
Step 2: Upload Context to InForm
- Navigate to your design in InForm
- Go to the Context or Settings section
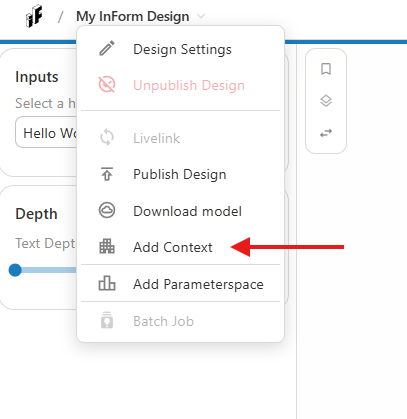
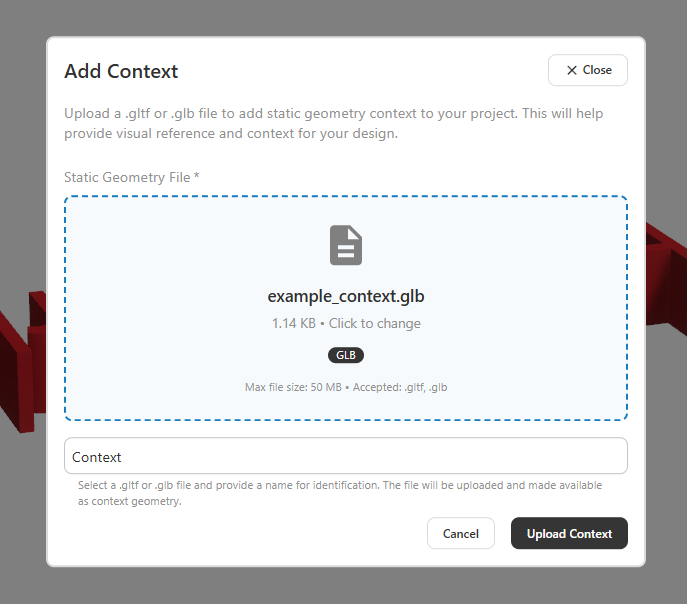
- Click Upload Context Geometry
- Select your exported GLB file
- Wait for the upload to complete
The context geometry will now appear in the viewer alongside your parametric geometry, but it won't be recalculated with each design variation.
Optimise your geometry for export.
- Convert geometry to meshes using Mesh command. If you have blocks/polysurfaces, explode and convert them to meshes.
- Use the MeshRepair function in Rhino to check if the meshes are correct.
- Join as many meshes together as possible.
- Use Reduce Mesh to reduce the amount of faces.
Why Upload Context Separately?
Including static geometry in your Grasshopper script has several performance drawbacks:
❌ Slower Computations: Context geometry is processed every time the script runs
❌ Increased File Size: Larger Grasshopper files take longer to upload and process
❌ Higher Data Transfer: Context is sent with every design variant
❌ Slower Web Viewer: More data must be loaded for each variation
Performance Benefits of Separate Upload
✅ Faster Computation: Context geometry is excluded from script processing
✅ Smaller Script Size: Grasshopper file remains lightweight
✅ Reduced Data Transfer: Context is sent once, not with every variant
Next Step
Learn how you can customize the user interface.