Welcome to InForm Documentation
📘 Introduction
This repository contains the documentation for InForm, including installation instructions, an overview of the plugin structure, usage guidelines, and example scripts to help users understand the core concepts.
Detailed documentation for each component is provided in dedicated files within this repository.
What is InForm?
InForm is a data-driven design platform for building-related projects. It enables users to efficiently generate, analyse, and explore large solution spaces, supporting informed decision-making and risk management.
The platform operates across multiple scales, from masterplans to buildings and façade systems, and provides:
- Cloud-based analysis, including batch/parallel computation.
- Efficient visualisation of results to explore the complete design space.
- Interactive sharing, allowing clients and collaborators to explore options directly through a shareable web link.
InForm consists of two parts:
-
A Grasshopper plugin for preparing inputs, configuring parameters, and sending geometries or data.

-
A web platform for computing, visualising, comparing, and sharing design variants.
⚙️ Installation
1. Install Rhinoceros 8
Download and install Rhinoceros 8 from the Arup Software Shop.
Grasshopper is included by default.
Users unfamiliar with Rhinoceros can watch this introductory tutorial: Rhinoceros Tutorial ↗
2. Configure the Arup Package Manager
Open Rhinoceros and navigate to:
Tools → Options → Advanced
Ensure the following value is set for the option Rhino.Options.PackageManager.Sources: https://yak.rhino3d.com;\\rhino.arup.com\Packages;\\global\systems\Rhino
Restart Rhinoceros.
3. Install InForm
Run the PackageManager command inside Rhinoceros.
Search for InForm and install the latest version.
Restart Rhinoceros again to finalise the installation.
4. Load the Plugin in Grasshopper
Open Grasshopper by typing Grasshopper in the Rhinoceros command bar or clicking its icon.
If installation was successful, the InForm tabs will appear in the Grasshopper ribbon.
🚀 Getting Started
Example Script
To begin testing InForm, download this simple example script:
Simple Example Script
This script demonstrates:
- Selecting among three geometry types via an InForm input.
- Sending geometry to the InForm web platform.
- Toggling visibility of geometry on the platform.
- Displaying a simple chart based on the geometry.
To open the script, drag and drop the .gh file onto the Grasshopper canvas.
🔗 Connecting Grasshopper to the InForm Web Platform
-
Open the InForm web platform: InForm Web Platform ↗
-
Log in using your Arup account.
-
Click Create Design, assign a title (e.g., My First Test), and optionally add a description.
-
Copy the Connection Key from the design page.
This key links Grasshopper to the web platform. -
In the Grasshopper script, paste the key into the panel connected to the Send Model component (input:
Key). -
Trigger the upload by clicking the button connected to the
Sendinput.- If successful, the component will display “Uploading GH…”, followed by “Success!”.
- If an error appears (indicated by a red balloon on the component), click it to view the diagnostic message.
-
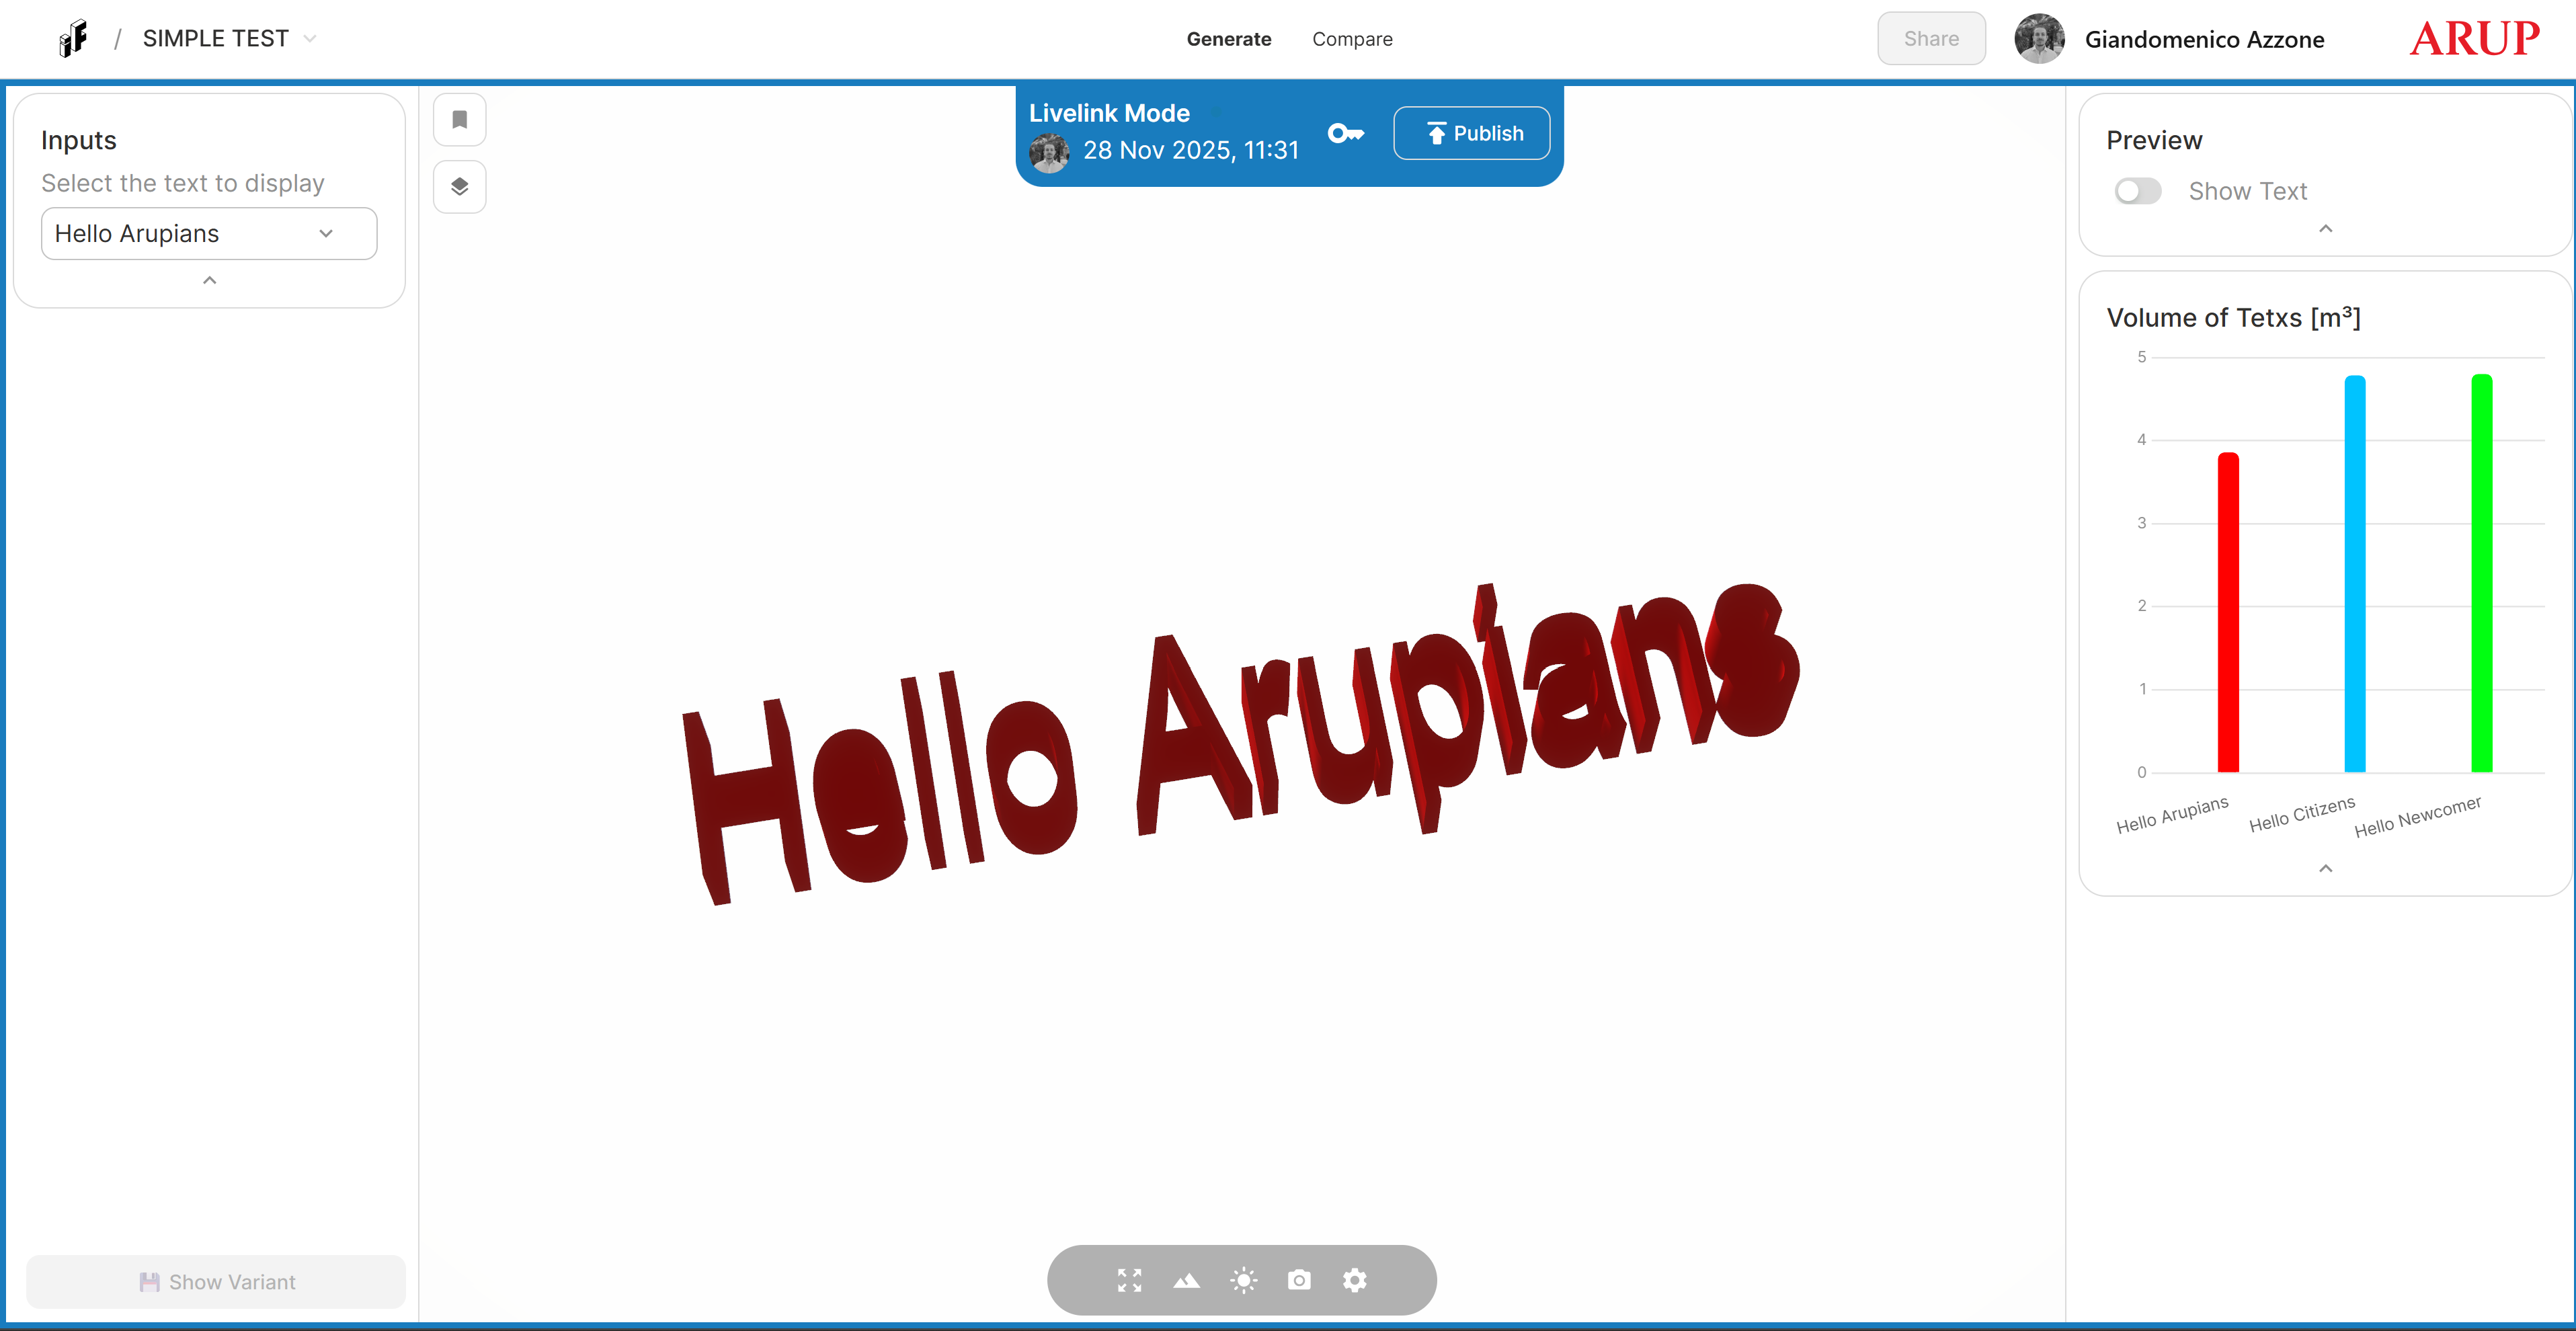
Return to the InForm web platform. Within a few seconds the interface will refresh, displaying:
- Input parameters (left panel)
- Geometry (center)
- Charts and Actions (right panel)
Changing the input value and clicking Compute Variant will update the geometry and its associated outputs.
Congratulations! Your first Grasshopper script has now been sent to InForm.
📚 Component Documentation
A complete description of all InForm components, including inputs, outputs, behaviours, and example usage, is available here:
InForm Component Documentation
Users new to Grasshopper are encouraged to review these supporting tutorials:
Grasshopper Tutorials ↗
🧩 More Complex Script
To explore a more advanced workflow, download the following example script:
Full Example Script
This script showcases a complete use case of the InForm plugin and demonstrates how to combine all available components to build a more sophisticated and data-rich design workflow.
It includes:
- Managing multiple input parameters simultaneously
- Sending complex geometry and structured data to the InForm web platform
- Using triggers, charts, layers, and metadata components
- Structuring outputs for clearer analysis and comparison
- Preparing the model for ParameterSpace exploration and Batch Job execution
- Demonstrating best practices for organising Grasshopper definitions intended for InForm
This example is intended as a comprehensive starting point for users aiming to develop more advanced parametric workflows and fully exploit InForm’s capabilities.